


Paint Sprayer Guide: How to Achieve a Professional Finish in 2026
What if you could paint an entire garden fence in less than two hours, or redecorate a bedroom in a single afternoon? You’re right to think that achieving a flawless, professional paint finish requires days of painstaking work with brushes and rollers. The fear of messy overspray, confusion over thinning paint, and the dreaded clean-up are all valid concerns that stop many DIYers from trying a new method.
This guide is your solution. We promise to show you how selecting and mastering the right paint sprayer can help you complete projects up to 10 times faster than traditional methods. You will learn how to achieve a perfectly smooth, brush-mark-free finish on walls, furniture, and fences. Get ready to demystify everything from choosing between HVLP and Airless models to mastering a technique that makes clean-up quick and simple.
Key Takeaways
- Choose the right paint sprayer by matching the type-HVLP for detail or Airless for speed-to your specific surface and paint thickness.
- Complete large painting jobs like fences, walls, and ceilings up to ten times faster than you could with traditional brushes and rollers.
- Achieve a flawless, professional finish by properly masking your space and thinning your paint to the correct consistency before you start.
- Ensure a safe and successful project by always using essential safety gear, including a respirator mask and proper eye protection.
A paint sprayer is the most efficient tool for achieving a smooth finish on large or complex surfaces.
A paint sprayer is a power tool that atomises paint, varnish, or stain into a fine mist for rapid, even application. This technology is the key to achieving professional-grade results on your own. The primary advantage is a dramatic increase in speed; you can complete large projects like fences, decking, or interior walls up to 10 times faster than with a traditional brush or roller. It also delivers a superior finish, completely eliminating the brush marks and roller textures that can detract from a project's final look.
This tool’s versatility makes it an essential part of any DIY arsenal. A quality paint sprayer handles a wide range of materials beyond standard emulsion paints. You can use it to apply wood stains, protective varnishes, and lacquers with equal precision. This flexibility makes it the perfect choice for everything from transforming kitchen cabinets to weatherproofing your garden shed for the winter, all with one reliable tool.
Why choose a sprayer over a traditional brush or roller?
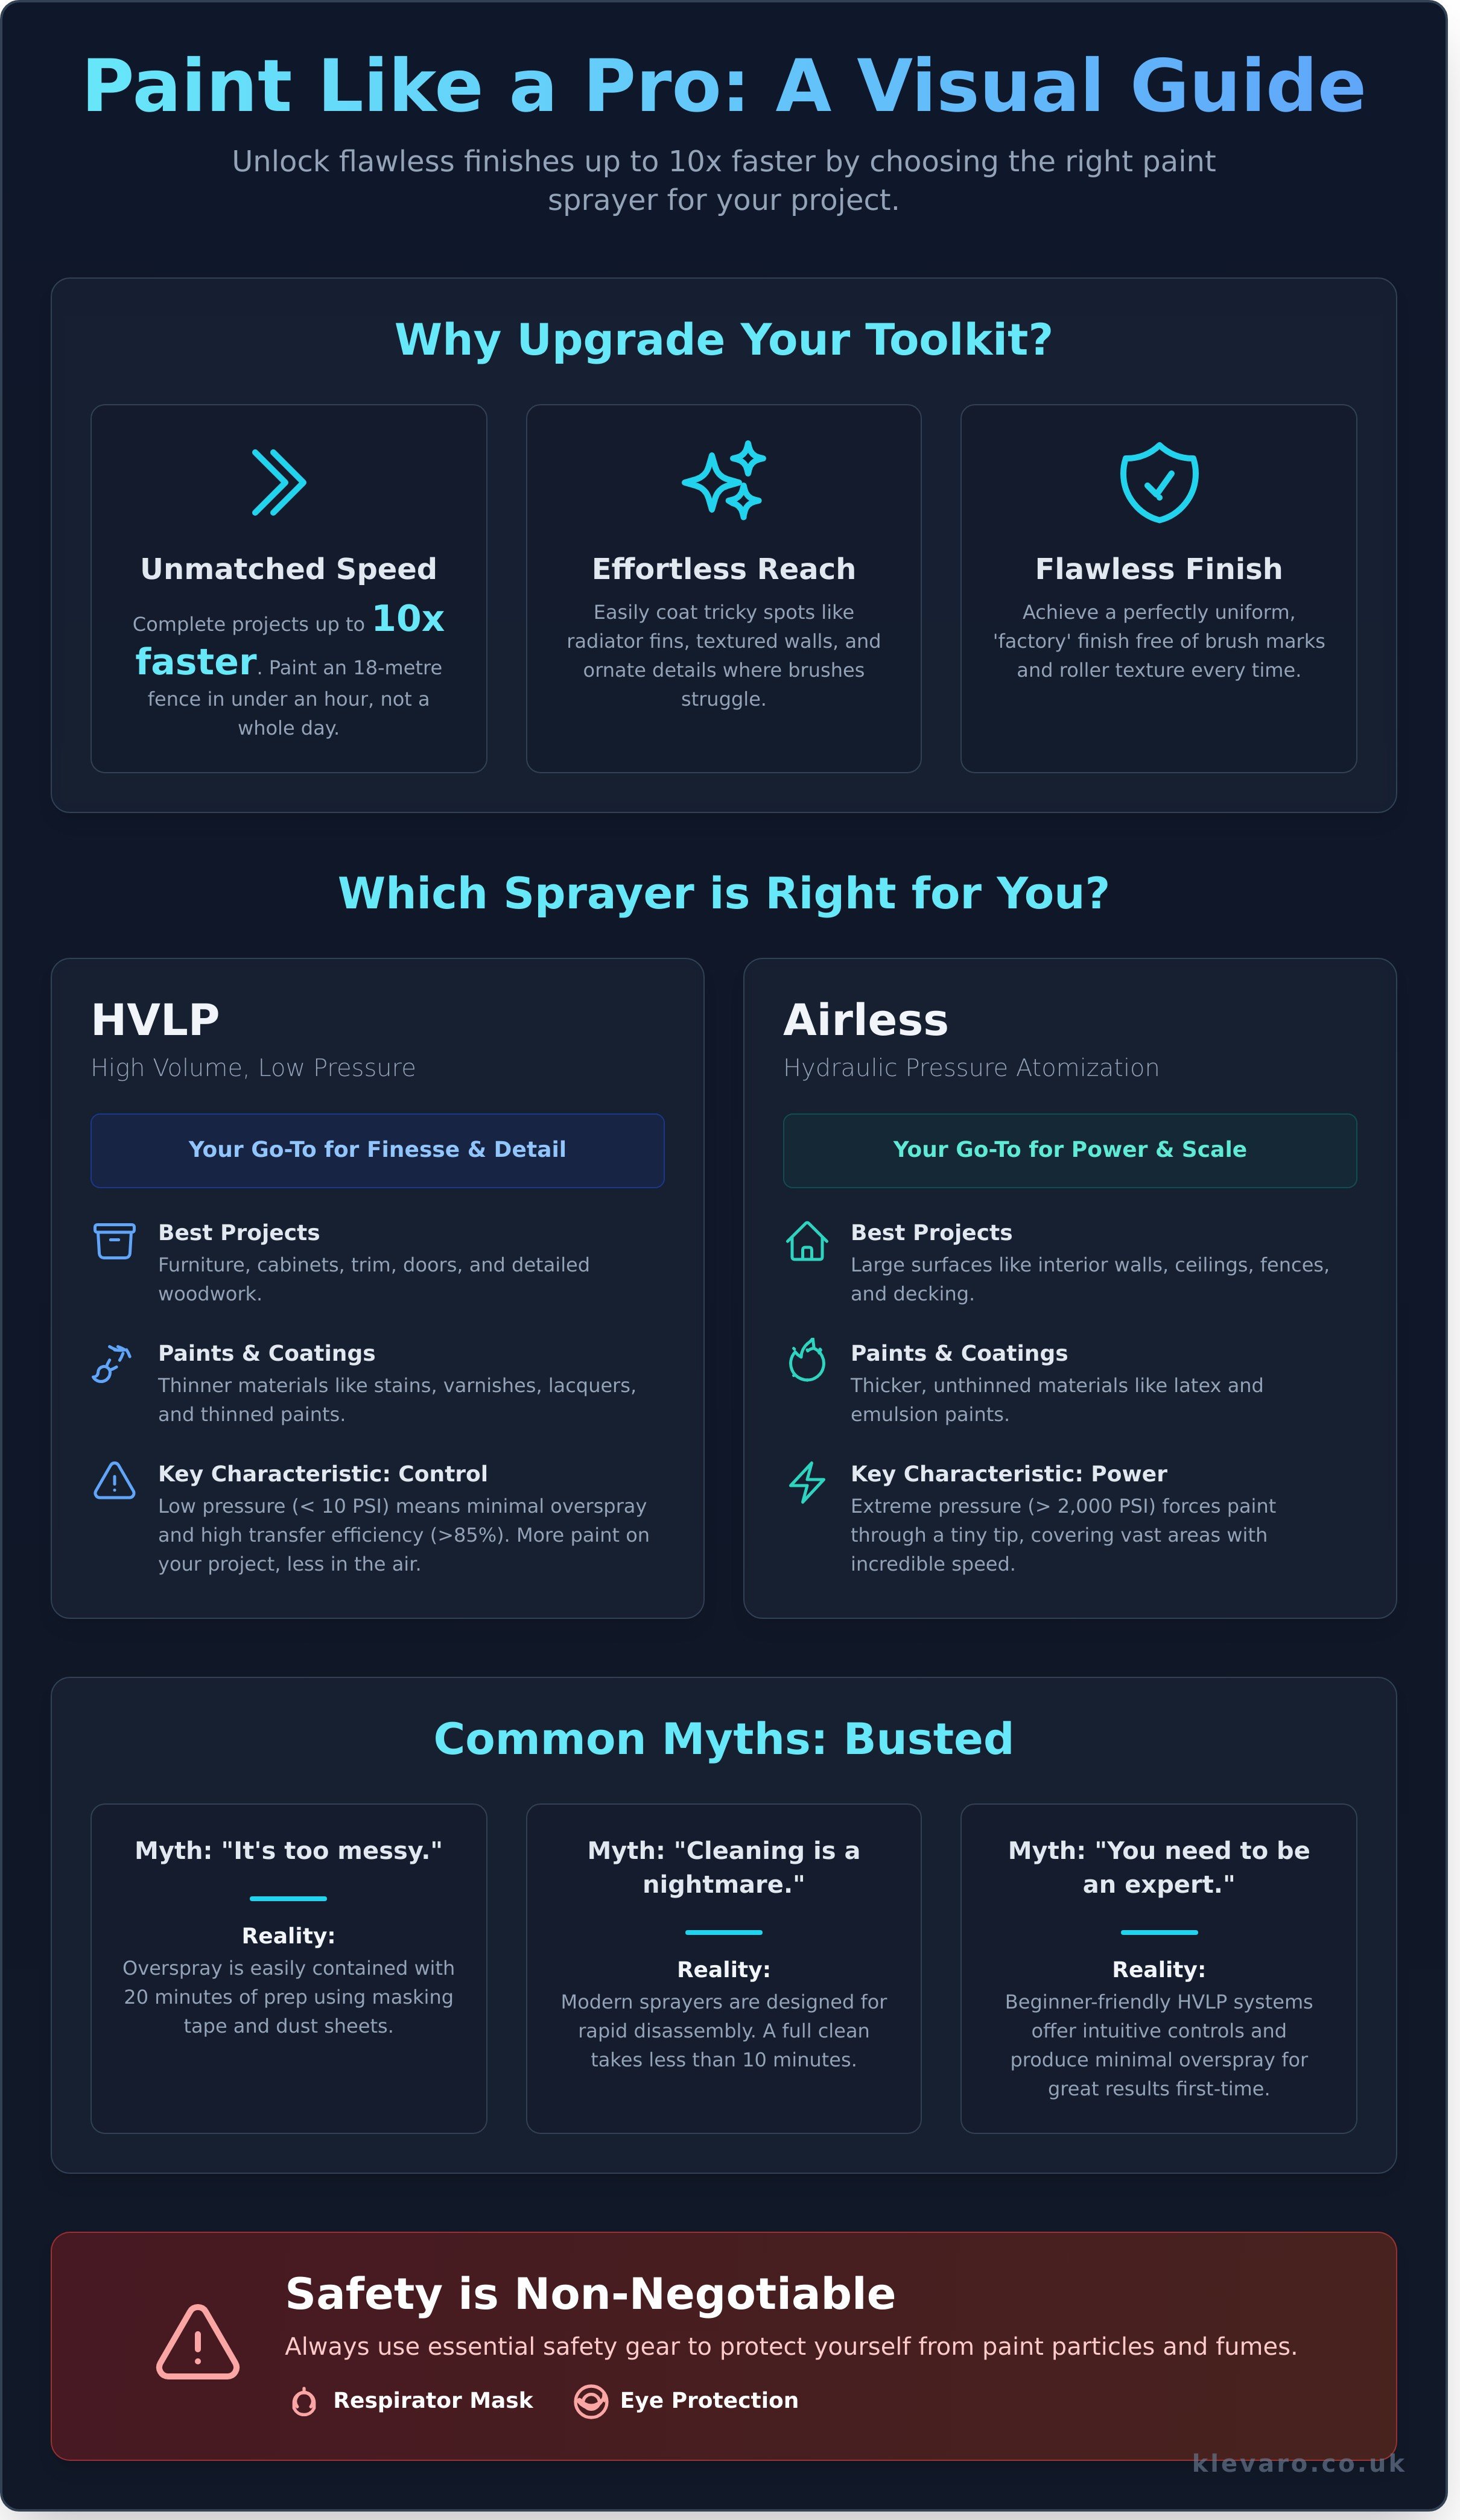
The decision to upgrade from manual tools to a sprayer comes down to three transformative benefits: unparalleled speed, effortless accessibility, and flawless consistency. For any DIY enthusiast looking to elevate their results and reclaim valuable time, these advantages make a compelling case.
- Speed: Cover huge areas in a fraction of the time. An 18-metre garden fence that might take a full Saturday with a brush can be perfectly coated in under an hour. Large interior walls or ceilings that would require hours of rolling can be finished in minutes.
- Accessibility: Reach tricky spots without the fuss. The fine mist easily coats detailed areas like ornate cornices, radiator fins, and textured surfaces like pebble-dash where a brush would struggle to provide even coverage.
- Consistency: Achieve a perfectly uniform coat every time. On smooth surfaces like cabinet doors or upcycled furniture, a sprayer lays down a flat, even layer of paint for that coveted 'factory' finish that's simply impossible to replicate with a roller.
Common misconceptions about DIY paint spraying
Many people are hesitant to try spraying, often due to a few persistent myths. However, modern tools have been specifically engineered to address these concerns, making them far more user-friendly and practical than you might expect.
- The 'mess' factor: Overspray is easily managed with simple prep. Taking 20 minutes to properly mask off surrounding areas with tape and dust sheets effectively contains the paint mist. This preparation ensures crisp, clean lines and protects floors and furniture.
- Cleaning time: The dreaded cleanup is quicker than ever. Most contemporary sprayers are designed for rapid disassembly. You can flush the system and clean the core components of many models in under 10 minutes, which is often faster than thoroughly washing out multiple brushes, rollers, and trays.
- Skill level: You don't need to be a professional to get great results. While older high-pressure systems required a steep learning curve, today's HVLP (High Volume, Low Pressure) sprayers are incredibly intuitive for beginners. These systems are a key development in modern spray painting techniques and are designed to produce minimal overspray, giving you greater control from the very first use.
Choosing between HVLP and Airless sprayers depends on your project scale and paint thickness.
Choosing the right paint sprayer is simple. Use an HVLP sprayer for detailed projects like furniture and trim where control is key. Pick an Airless sprayer for large surfaces like walls and fences where speed is the priority. The core difference lies in how they deliver paint. HVLP (High Volume, Low Pressure) systems use a high volume of air at low pressure, typically under 10 PSI, to atomise paint. This results in less overspray and a finer finish. In contrast, Airless systems use extreme hydraulic pressure, often over 2,000 PSI, to force paint through a tiny tip, covering large areas quickly with thicker paints.
An HVLP sprayer is your tool for precision. It works like a highly controlled spray can, wrapping paint around surfaces with minimal waste. This high transfer efficiency, often exceeding 85%, means more paint lands on your project and less floats away as overspray. This makes it perfect for indoor work where you want to protect surrounding surfaces and achieve a glass-smooth finish on cabinets, doors, and detailed woodwork.
Airless sprayers are all about power and productivity. They don’t use a compressor; instead, a powerful pump pressurises the paint itself. This raw power allows them to handle much thicker materials, like undiluted emulsion, straight from the tub. An Airless sprayer can apply paint up to 10 times faster than a brush. While this speed is incredible for exterior walls or long fences, it also creates more overspray. The high-pressure mist requires careful masking and proper ventilation, as detailed in professional guides for Controlling Hazards in spray operations.
HVLP sprayers: The best choice for indoor furniture and trim
Get professional results on intricate projects with an HVLP sprayer. It’s the ideal choice for upcycling kitchen cabinets, reviving chairs, or adding a flawless coat to detailed trim and skirting boards. Most models offer adjustable spray patterns (horizontal, vertical, and circular), giving you complete control to match the shape you’re painting. They excel with thinner coatings like stains, lacquers, and properly thinned satin or gloss paints for a perfect, factory-like finish.
Airless sprayers: Designed for speed on large surfaces
When you need to cover a large area fast, an Airless sprayer is your best friend. These powerful machines can draw paint directly from a 5-litre or 10-litre tub, saving you countless hours on refills. This makes them the ultimate tool for painting entire rooms, garden fences, sheds, or exterior masonry. An Airless sprayer delivers a thick, even coat that covers imperfections and provides a durable finish in a single pass, transforming your space in a fraction of the time.
Ultimately, your project dictates the tool. For the fine details that make a home feel special, the control of an HVLP system is unmatched. For big transformations that require speed and heavy coverage, an Airless system delivers the power you need. Whichever path your DIY journey takes, having the right equipment makes all the difference. Explore our curated selection of reliable painting tools to find the perfect partner for your next project.
The best paint sprayer for your project is determined by surface texture and coating type.
Choosing the right paint sprayer is the first step to achieving a professional-quality finish. The ideal tool depends entirely on your project's specific needs. For smooth surfaces like kitchen cabinets or furniture, a High Volume, Low Pressure (HVLP) sprayer provides a fine, glass-like finish with minimal overspray. For large, rough surfaces like exterior walls or garden fences, a powerful airless sprayer is better, as it can handle thicker paints and cover large areas quickly. Your choice of coating, from thin wood stain to thick masonry paint, will also dictate the power and nozzle size you require.
Think about where you'll be working. Corded models deliver consistent, reliable power, making them perfect for all-day interior projects where a plug socket is always nearby. If you're tackling a garden fence or a shed at the bottom of the garden, a cordless paint sprayer offers unbeatable freedom and mobility. Finally, look for a model with adjustable flow control. This feature is essential for managing the amount of paint being sprayed, allowing you to prevent runs and drips for a flawless result every time.
Matching the sprayer to common UK DIY tasks
- Kitchen Refurbishment: An HVLP system is the tool of choice for transforming kitchen cabinets and furniture. Its low-pressure output delivers a fine, even coat perfect for satinwood or eggshell paints, giving you that sought-after smooth, high-end finish without brush marks. It offers precision for detailed work on trim and panelling.
- Garden Fence Maintenance: Speed and power are key when treating dozens of rough-sawn fence panels. An airless sprayer will make short work of the job, easily handling thick, durable fence paints and stains. Some high-power HVLP models can also manage this task, though you may need to thin the coating slightly.
- Interior Walls: For large, open-plan living areas or entire rooms, an airless system can save you days of work compared to a traditional roller. It applies a thick, even coat of emulsion paint quickly, covering huge surfaces in a fraction of the time. Proper masking is essential, but the time saved is significant.
Key features to look for before you buy
Beyond the basic type, a few key features separate a good tool from a great one. Paying attention to these details ensures you get a sprayer that’s not just effective, but also easy and enjoyable to use.
- Nozzle Sizes: Your sprayer must be compatible with your chosen paint. Nozzles (or tips) come in various sizes, typically measured in thousandths of an inch. A small 0.011" tip is ideal for thin stains, while a larger 0.017" tip is needed for thick emulsions. Check the manufacturer’s recommendations to ensure you have the right tip for the job.
- Hose Length: Don't underestimate the importance of a long hose. A standard 7.5-metre hose is adequate for a single room, but a 15-metre hose provides the freedom to paint an entire two-storey house exterior or a long garden fence without constantly stopping to move the base unit.
- Ease of Cleaning: A sprayer is only as good as its last clean. Look for models designed for simple maintenance. Features like 'quick-connect' fittings that attach directly to a standard garden hose can reduce cleaning time from 30 minutes to less than 10. Mastering the setup and cleaning process is vital; this excellent video guide on How to Use a Paint Sprayer from This Old House offers a fantastic visual walkthrough of the entire process.
Successful paint spraying requires meticulous surface preparation and a consistent stroke technique.
A flawless, factory-like finish is achievable with any quality paint sprayer, but the secret isn't just in the tool itself. Your results depend entirely on careful preparation before you pull the trigger and a disciplined cleaning routine after you're done. Mastering these two areas will prevent runs, clogs, and uneven patches, transforming your projects from good to professional.
Start by masking everything you don't want painted. This step is non-negotiable. Use high-quality painter's tape with a sharp edge, like 3M's 2090 Blue Tape, to create crisp lines around trim, windows, and sockets. For larger areas like floors, furniture, and light fixtures, cover them completely with plastic or cloth dust sheets. A few extra minutes of masking saves hours of cleanup.
Your spraying motion is just as critical. Always keep the sprayer nozzle a consistent 6 to 8 inches (15-20cm) from the surface. Move your entire arm, not just your wrist, to keep the sprayer perfectly parallel to the wall. This prevents an uneven, arced spray pattern that's thin on the ends and heavy in the middle. For complete, even coverage, overlap each pass by 50%. This simple rule eliminates stripes and ensures a uniform coat.
How to thin paint for a flawless finish
Paint straight from the tin is almost always too thick for a sprayer. Thinning it correctly is vital to prevent spitting and clogs. The best method is the viscosity test. Pour your paint into a viscosity cup and time how long it takes to empty. For most water-based emulsion paints, a run-out time of 20-40 seconds is the ideal target. Always check your paint tin for the manufacturer's specific thinning agent; use water for water-based paints and white spirit for solvent-based ones. Add your thinner in small increments, stirring thoroughly and re-testing until you hit the right consistency. Finally, always pour your thinned paint through a fine-mesh filter before it enters the sprayer's reservoir. This catches any tiny lumps that could instantly clog the nozzle.
The 5-minute 'Pro-Clean' routine
A clean tool is a reliable tool. Neglecting your paint sprayer after a job will lead to blockages and poor performance. Adopt this quick routine to keep it in perfect working order. First, flush the system immediately after use. Run the appropriate cleaning solution (water for latex, white spirit for oil-based) through the sprayer until it comes out completely clear. Next, disassemble the wet-end parts. Carefully remove the needle, nozzle, and air cap and let them soak in a small pot of cleaner for a few minutes before scrubbing them with a small brush. Once dry, apply a single drop of tool oil to the needle shaft before reassembly. This tiny step prevents sticking and ensures your sprayer is ready for your next project.
Keeping your equipment in top condition is the hallmark of a great DIY enthusiast. To ensure your gear is always ready for action, explore our complete range of durable tool accessories and maintenance essentials.
High-quality painting tools and equipment ensure a durable professional-grade result.
Your technique is only half the battle. Investing in reliable gear is the surest way to avoid the frustration of mid-project mechanical failures that can ruin a finish. A budget tool might save you £20 upfront, but a single breakdown can cost hours in cleanup and rework, leading to drips, uneven coats, and a finish you're not proud of. A durable, well-maintained machine delivers consistent pressure and a uniform spray pattern from start to finish.
Before you even begin, prioritise your safety. Using a paint sprayer atomises paint into a fine mist that can hang in the air for hours. Always wear a properly fitted respirator mask, rated at least FFP2 for water-based paints, to protect your lungs from inhaling these harmful particles. Goggles or sealed safety glasses are also essential to prevent paint mist from irritating or damaging your eyes.
Proper storage after the job is just as critical as preparation. Keep your sprayer in a dry, temperate environment like a garage or insulated shed. Exposing the motor and seals to freezing temperatures below 5°C can cause plastic components to crack and rubber O-rings to perish, resulting in leaks and pressure loss. Finally, always start with a test. A large piece of cardboard or scrap wood is the perfect canvas to dial in your settings, perfect your spraying speed, and ensure your paint sprayer is set up for success before you touch a single wall.
Building your complete decorating kit
A great sprayer is the heart of your kit, but the right accessories turn a good job into a great one. Extension poles, for instance, are a game-changer for high ceilings and stairwells, allowing you to maintain the perfect distance without the instability of a ladder. For fine-finish projects like cabinets or furniture, swapping to an extra-fine tip will give you a smooth, factory-like surface that's impossible with a standard nozzle. You can explore our full range of tools and equipment to find the perfect match for your next project.
Of course, a flawless finish starts with meticulous prep. Don't let a stray droplet spoil your hard work. High-quality masking tape, durable drop cloths, and cleaning supplies are the unsung heroes of any decorating job. You can browse our home and garden collection to find all the essentials you need to protect your space and achieve crisp, clean lines.
Why Klevaro is the trusted choice for UK DIYers
We're passionate about DIY, just like you. Our expert team carefully selects every tool based on one simple question: would we use it in our own homes? We stock durable, reliable gear that we trust to deliver exceptional results every time.
When inspiration strikes, you shouldn't have to wait. That's why we offer fast UK delivery on our entire range. Get the tools you need delivered directly to your door, so you can start your transformation this weekend.
Every product at Klevaro is vetted for performance and longevity. Your confidence is our top priority. We guarantee quality so you can fix, build, and create with the peace of mind that your equipment is up to the task.
Master Your Next Project with a Flawless Finish
Achieving that sought-after professional finish is no longer out of reach. Remember, success hinges on matching the right sprayer to your project's scale and paint type, combined with meticulous surface preparation. A steady hand and a consistent technique are what will truly transform your space, turning a challenging task into a deeply satisfying achievement.
Now you're ready to put this knowledge into action. The right equipment is the final piece of the puzzle. Whether you need a powerful airless model or a precise HVLP paint sprayer, we have the gear to help you succeed. Shop our range of high-quality DIY tools and equipment and get everything you need to fix, build, and create.
As a trusted UK store, we offer quality-guaranteed products with fast UK delivery, so you can start your project sooner. Your next transformation is waiting, and a flawless, durable finish is just a spray away.
Frequently Asked Questions
Do I really need to thin paint for a sprayer?
Yes, you often need to thin paint for a sprayer, particularly for HVLP models. Most standard paints like emulsions are too thick to spray smoothly and can clog the nozzle. A good starting point is thinning the paint by 10% with water, but always consult the instructions on both the paint tin and your sprayer. The best way to achieve the perfect consistency is by using a viscosity cup to test the paint's flow before you begin spraying.
Is an HVLP sprayer better than an airless sprayer for beginners?
Yes, an HVLP (High Volume, Low Pressure) sprayer is generally better for beginners. HVLP systems use lower air pressure, which gives you greater control and creates significantly less overspray. This makes them perfect for detailed projects like furniture, cabinets, and window frames. Airless sprayers are much faster for large surfaces like walls but require more practice to handle their high-pressure output without causing drips or uneven coverage.
How do I prevent overspray from getting on my furniture?
The best way to prevent overspray is with thorough preparation. Move all furniture out of the room if possible. If not, group it in the centre and cover it completely with thick plastic dust sheets. Use high-quality masking tape and paper to protect skirting boards, light switches, and window frames. Adjusting your sprayer to the lowest effective pressure setting and using the correct nozzle size will also help minimise the amount of airborne paint mist.
Can I use standard emulsion paint in a spray gun?
Yes, you can use standard emulsion paint in a spray gun, but you will almost always need to thin it first. Most emulsions are too thick to pass through the sprayer's nozzle correctly. As a rule of thumb, start by adding 10% water and mixing it thoroughly. Always test your thinned paint on a piece of scrap cardboard to check the spray pattern before you apply it to your walls or project.
How long does it take to clean a paint sprayer after use?
Cleaning a paint sprayer correctly should take between 10 and 20 minutes. For water-based paints, you'll need to flush the system with warm water until it runs completely clear. For oil-based paints, you'll use a solvent like white spirit. A thorough clean of the nozzle, filters, and gun body after every single use is essential to keep your tool in reliable working order for years to come.
What is the best way to avoid drips and runs when spraying?
To avoid drips, you must use a consistent spraying technique. Keep the nozzle a steady 25-30 cm from the surface and ensure you're always moving the sprayer at an even pace. Overlap each new pass over the previous one by about 50% for uniform coverage. Most importantly, always start and stop the spray just off the edge of the object you are painting, not directly on it. This prevents blotches when you pull and release the trigger.
Do I need a respirator mask when using a paint sprayer?
Yes, you absolutely must wear a respirator mask when spraying. A simple dust mask is not enough. Paint sprayers atomise paint into a fine mist that can be inhaled easily, and these particles can be very damaging to your lungs. For proper protection against both paint particulates and fumes, use a respirator with at least an FFP2 rating. Your safety should always come first.
Can I spray garden fences with a handheld electric sprayer?
Yes, a handheld electric sprayer is an ideal tool for painting garden fences. It allows you to cover large, uneven surfaces quickly and achieve a consistent finish, even on rough-sawn timber. Using a sprayer can reduce the time it takes to paint a fence by over 50% compared to using a traditional brush. It's a practical solution for getting a professional-quality result on your outdoor projects with much less effort.
Leave a comment